Mortal Shell II in pictures — Shells, boss standoffs, swamp and ruin environments, and the NPCs who populate its decaying world. Every image below is an actual in-game capture from the launch build, not promotional key art.
These captures show what the Unreal Engine 5 sequel looks like at launch: heavy fog, volumetric light, and the series' trademark chiaroscuro gloom. Hover any frame for its caption; images load lazily so the page stays fast.
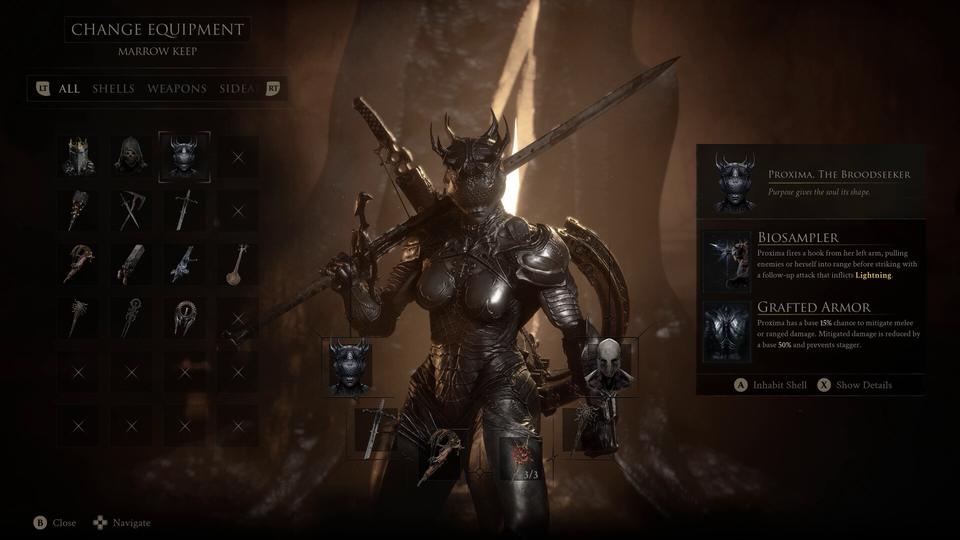
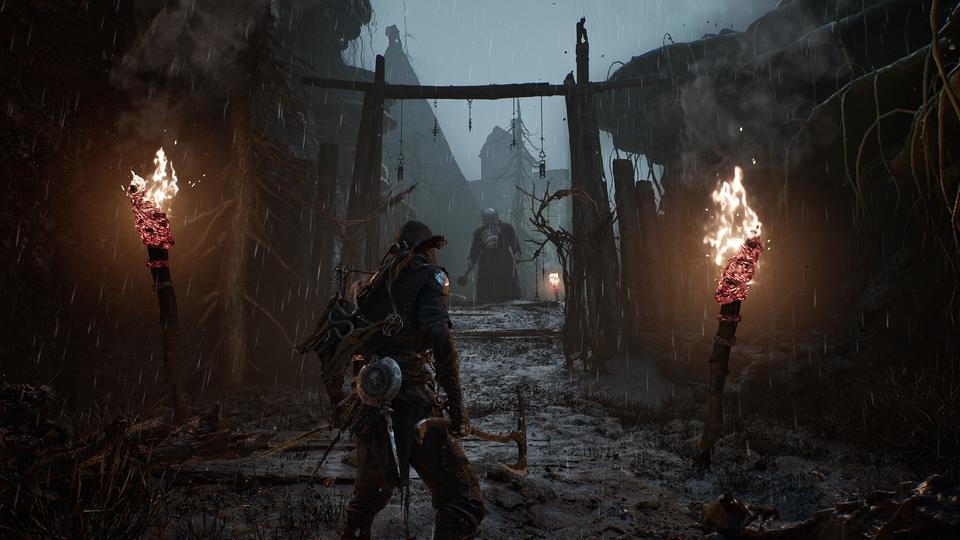
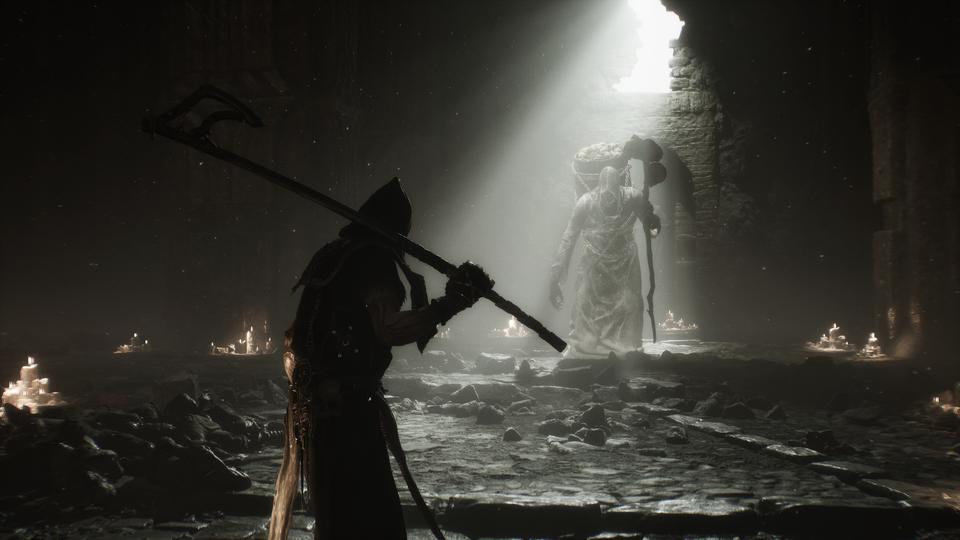
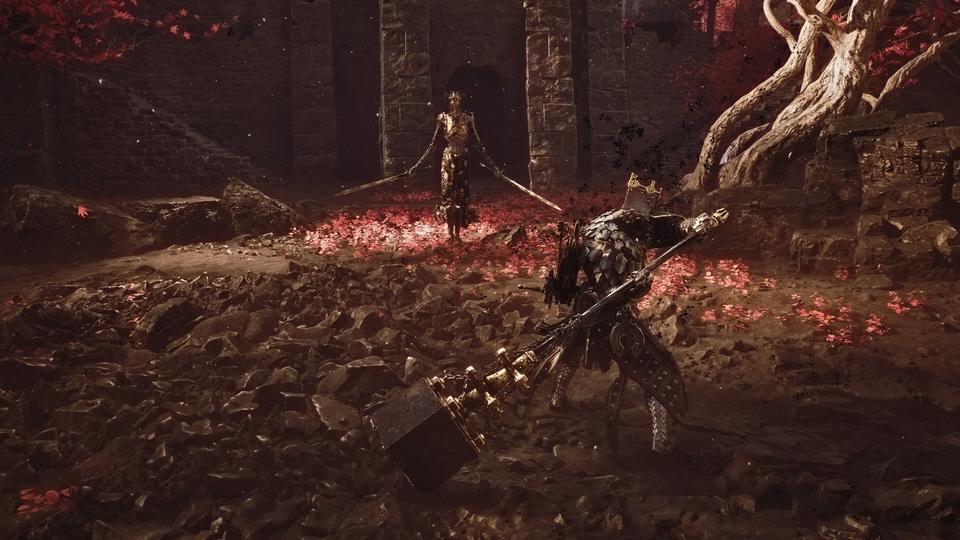
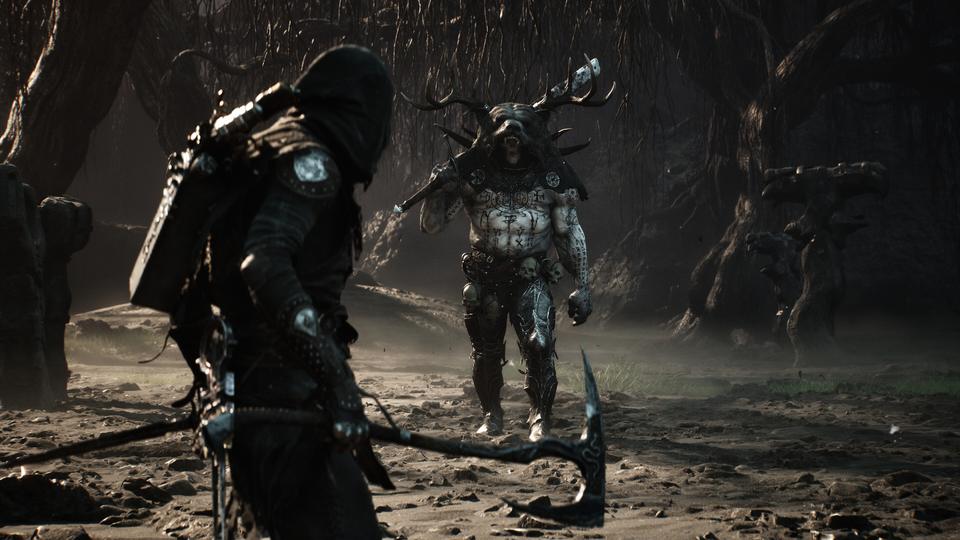
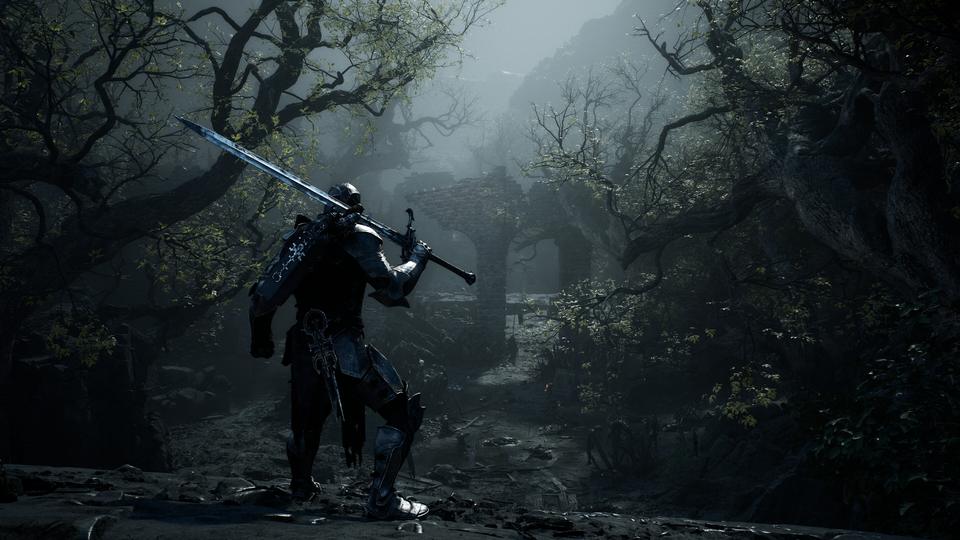
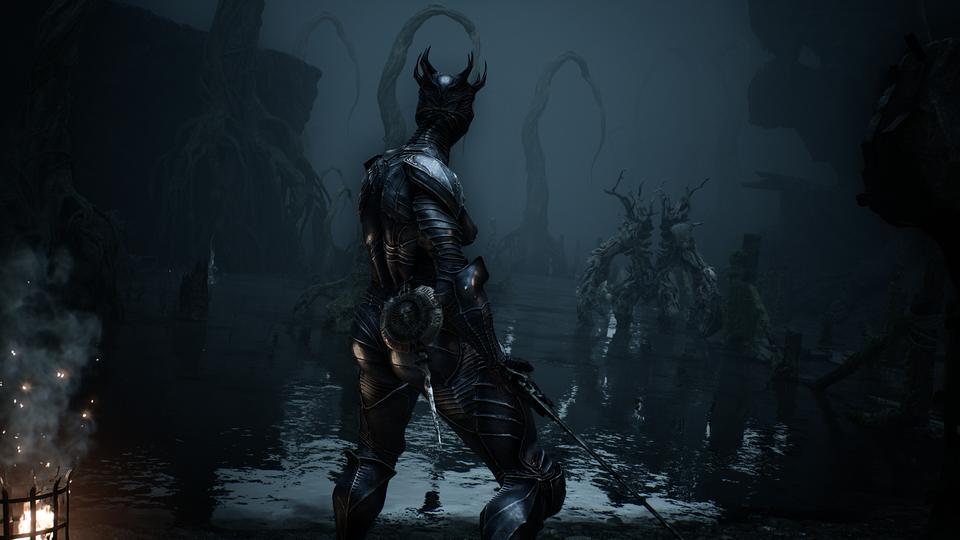
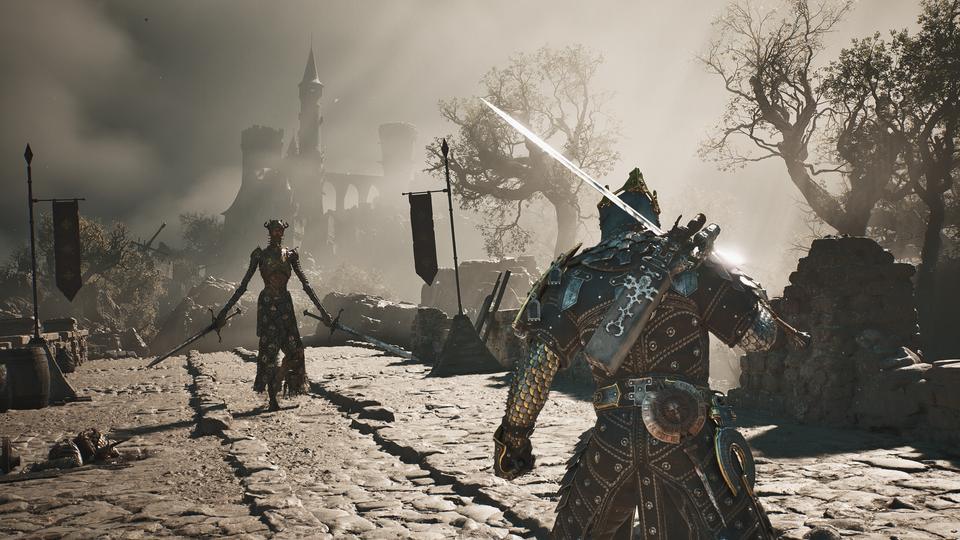
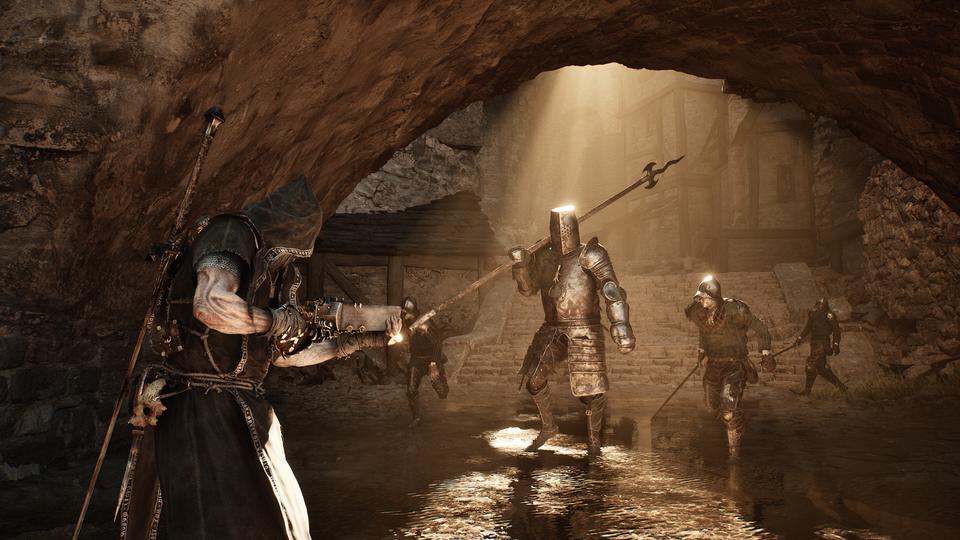
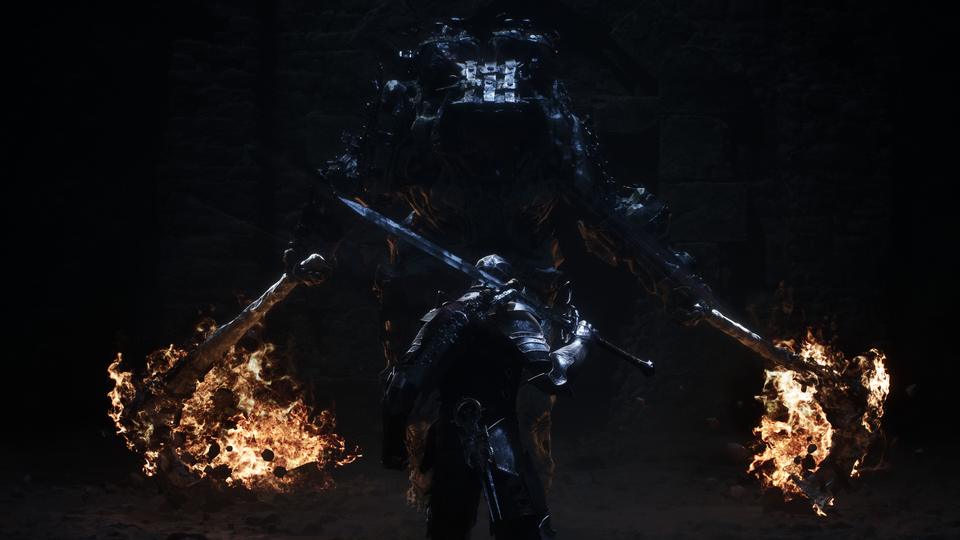
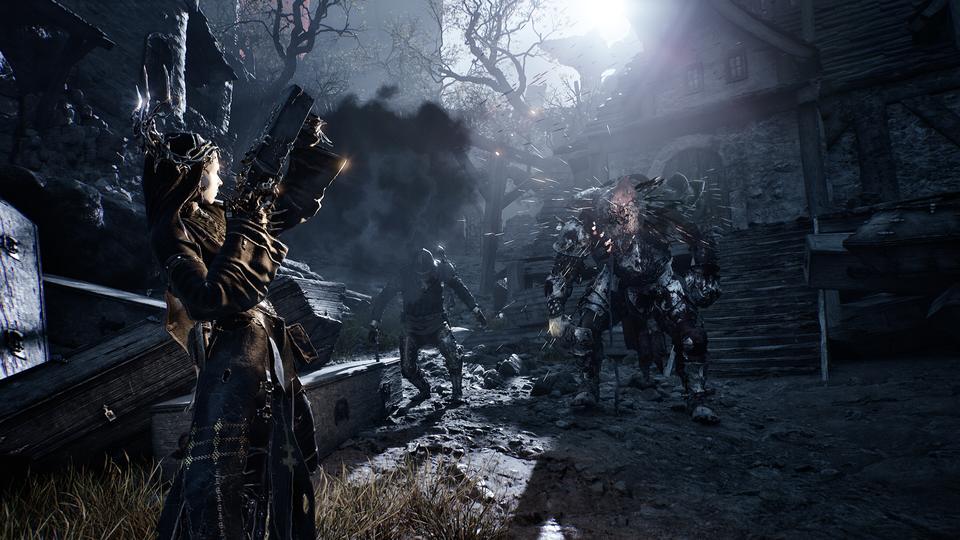
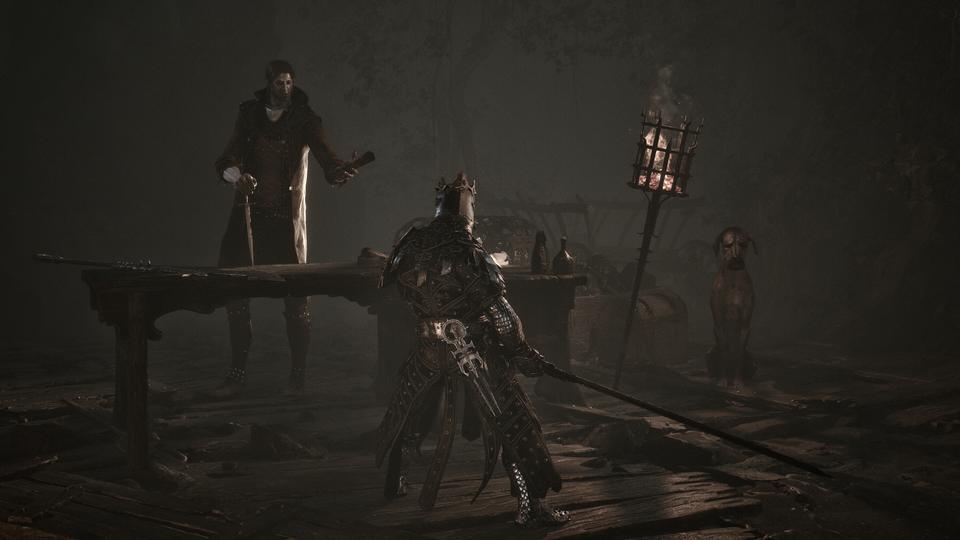
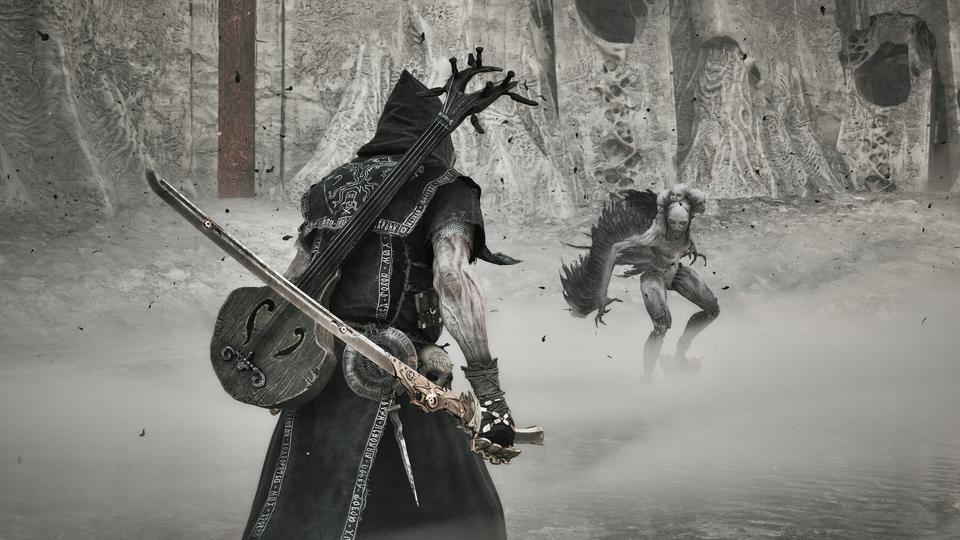
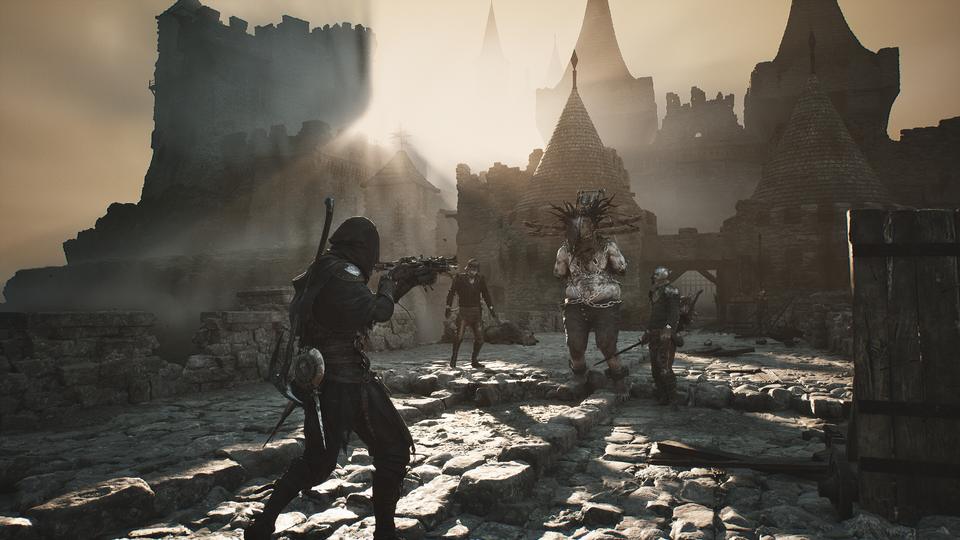
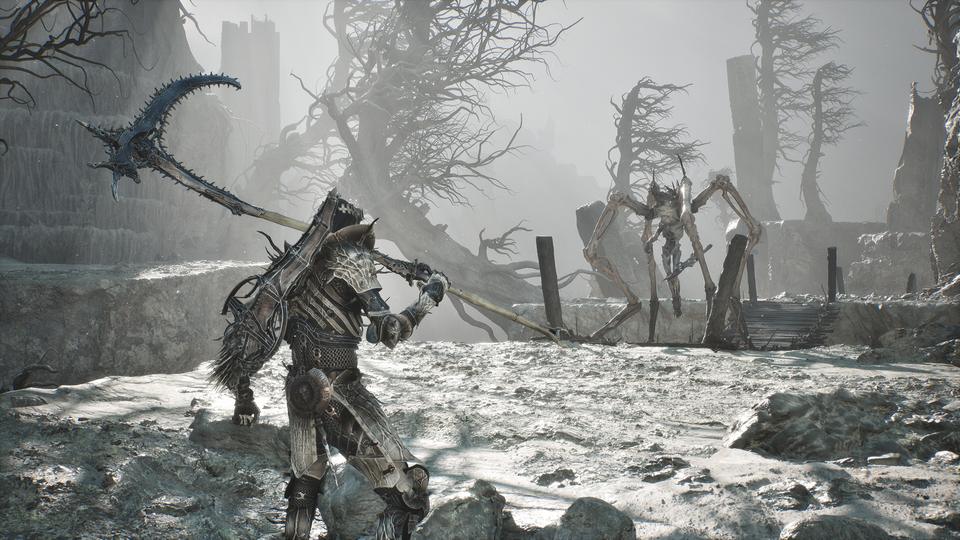
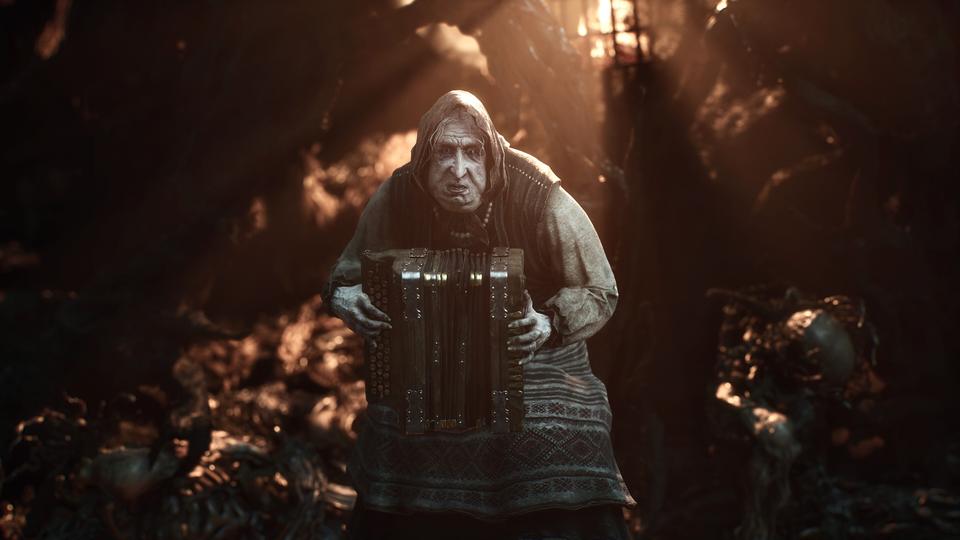
Screenshot 01Marrow Keep Change Equipment screen: Proxima, the Broodseeker, stands ready with greatsword and Biosampler hook.Screenshot 02Rain-soaked warrior advances down a torch-lit muddy path toward a robed foe beneath a wooden gate.Screenshot 03Hooded warrior shouldering a long blade confronts a pale robed figure in a candlelit ruin.Screenshot 04Crowned warrior with a colossal hammer faces a dual-sworded skeletal foe amid drifting red petals.Screenshot 05Warrior with war pick confronts a snarling, tattooed, antler-helmed brute in a misty forest clearing.Screenshot 06Lone armored knight shoulders a greatsword, gazing toward misty stone ruins in a gnarled forest.Screenshot 07Horned warrior wades through misty swamp water, sword in hand, facing a twisted antlered creature.Screenshot 08Armored warrior raises a gleaming sword as a gaunt dual-wielding foe advances along a cobblestone causeway.Screenshot 09Hooded warrior faces a polearm-wielding knight and soldiers in a sunlit, flooded stone archway.Screenshot 10A lone warrior raises a sword against a towering giant brandishing two blazing weapons in a dark hall.Screenshot 11Robed warrior raises a firearm as a shambling foe and hulking brute advance through a ruined village.Screenshot 12Crowned knight with drawn blade meets a gesturing scholar at a table as a dog watches by torchlight.Screenshot 13Hooded warrior bearing sword and stringed instrument confronts a crouching winged demon in misty pale ruins.Screenshot 14Hooded warrior aims a crossbow at a spiked-crown brute and two foes amid sunlit castle ruins.Screenshot 15Armored warrior brandishes a barbed scythe toward a spindly spider-like monster in a foggy wasteland.Screenshot 16A hooded old woman grimly plays an accordion in a dark, bone-strewn ruin lit by amber light.
What the screenshots show
Shell and loadout screens — the Marrow Keep hub where you swap Shells, weapons and sidearms.
Boss standoffs — crowned giants, antlered brutes, dual-wielding undead and a blazing twin-weapon titan.
NPC encounters — parleys, merchants and the eerie accordion player amid the wreckage.
Evidence boundary
Captions describe only what is visible in each frame. Boss names and attack patterns are not inferred from screenshots — those stay on the verified boss pages. New captures will be added as we confirm more regions post-launch.